You have spent all season in your ski boots and odds are they are filthy. Buckles sticking, shells are grimy and oily feeling, this is no way to store your gear. Like most of us, you have made some sort of investment in your gear, why not keep it in good shape. Similar to our piece on Post Season Ski & Snowboard Storage Preparation, following our advice for cleaning up and stowing your ski boots will ensure they are in the best shape for next season.
Post season ski boot cleanup requires minimal supplies, many of them you already have in your kitchen.
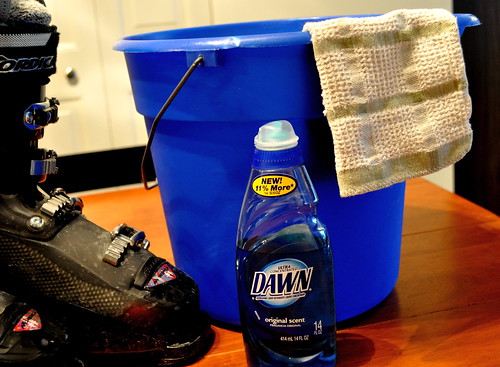
- Rags or old washcloth
- Tootbrush (optional)
- Mild dish soap
- Bucket or sink filled with hot water
Step 1: workspace and supplies
Cleaning up your ski boots is fairly painless and can be performed almost anywhere. Your sink, kitchen table (throw a towel down), garage or outside. As for a cleaning agent, we prefer just a mild dish soap like Dawn. It’s very mild so you don’t have to worry about it attacking the plastic shell like other solvents, and it’s quite good at cutting grease and oils that are left behind by manmade snow. A few drops of dish soap in your bucket or sink filled with hot water and you’re ready to dig in.
Step 2: clean up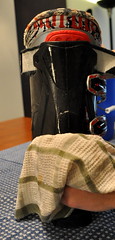
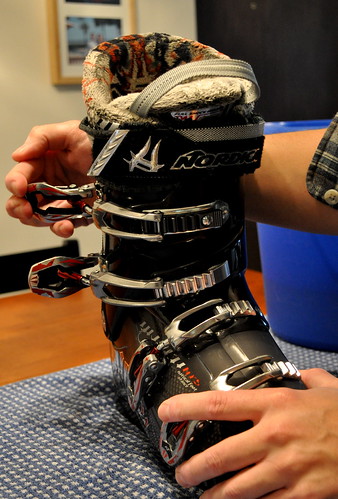
We are focusing on cleaning up the outer shell of the ski boot. Unless you submerged your boots in water during a spring slush cup event, we see no reason for you to completely remove the liner for cleanup. Just make sure the inside of your boots are dry before storing. Depending on how dirty your ski boots are, or how much you use them, the actual cleaning portion is easy. It’s best to unbuckle your boots completely to provide you with access to the entire outer shell. Armed with your rag and soapy water, start wiping down the outside of each boot from top-to-bottom, making sure you pay special attention to areas around the buckles and under each enclosure flap. Wipe off each buckle, ensure each buckle functions properly and is not sticking. If you have sticky buckles, you may need to break out the toothbrush for some additional scrubbing in those areas.
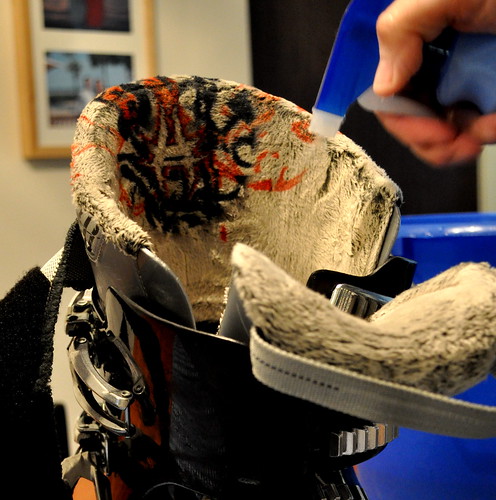
Step 3: deodorize
Deodorize huh? You might be thinking, but my boots don’t stink… It doesn’t matter. We have heard of people putting their boots away in the spring and after storing them all summer, they bust them out in the fall only to find some sort of funk. Odds are this is from putting the boot away damp and not completely dry. Let this be another reminder to be sure your boots are completely dry before storage. The easiest way we have found to keep boots smelling fresh is with a quick shot of FeBreeze down into each boot prior to storage.
Step 4: to buckle or not to buckle
This has long been a debate. Do I buckle my boots while not in use, or do I keep them unbuckled? Buckle your boots when they are not in use, especially for long periods of time such as the off season. A quick check with Jon Holmes from Bill & Paul’s and Jon says ‘buckling your boots will ensure they hold a cylindrical shape, meaning more comfort and easier to buckle up next season.’
Step 5: storage solutions
Similar to storing your skis and snowboards, many boots just get kicked into a dark corner to collect dust. Consider placing them in a gear bag to keep the dust off and store them in a location that is dry and out of the way. We prefer an area on the main floor of your house, perhaps inside a closet, laundry room or spare bedroom. These are all much better locations than your garage or basement.
Taking a bit of time at the end of the season will keep your boots fresh and ready to go next year.